Lighting PS


Heres a great effect that will bring some energy to your subject. Well be wrapping this singers arm with a glowing beam of light, adding sparkles, and adjusting the colors to make it all seem magical.
Firstly, create a new layer, then grab your Pen Tool (P) and draw out a spiraling path, as if you have a snake wrapped around the arm.
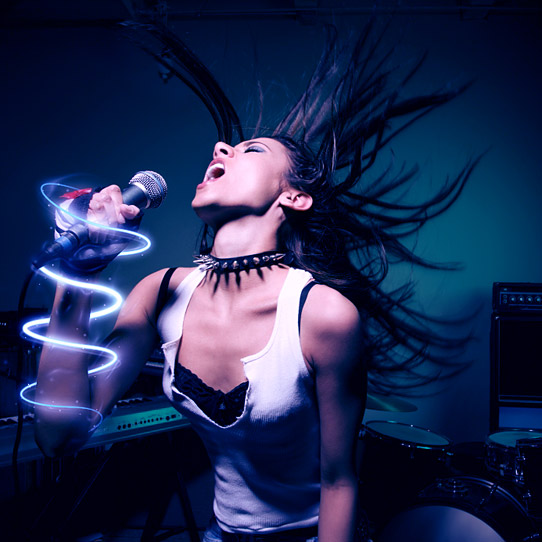
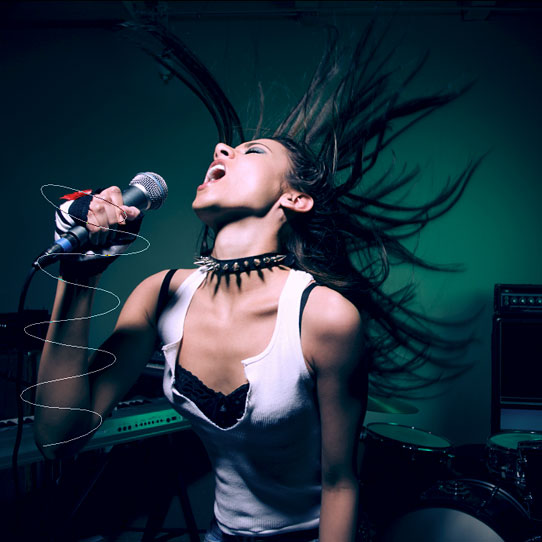
Then select the Brush Tool (B) and set your diameter to 7px, with the Opacity and Flow at 100%, and your foreground color set to white. With your path still on the artwork, go back to the Pen Tool, right click on the canvas, and choose "Stroke Path." A menu will appear with the Brush set as the Tool. Check "Simulate Pressure" and press OK. This will make the beginning and end of your stroke thinner.
Now you need to delete the parts you want hidden behind the arm. With your stroke layer selected, choose "Add layer mask" at the bottom of the Layers Palette. Use the Polygonal Lasso Tool (L) to select areas of the arm you want in front of the stroke -- use your eye and imagine how thi

Share this article :

Posting Komentar

 
Support : Creating Website | Johny Template | Mas Template
Copyright © 2011. Indo tekno - All Rights Reserved
Template Created by Creating Website Published by Mas Template
Proudly powered by Blogger